Painting Ideas for a Young Girl’s Bedroom
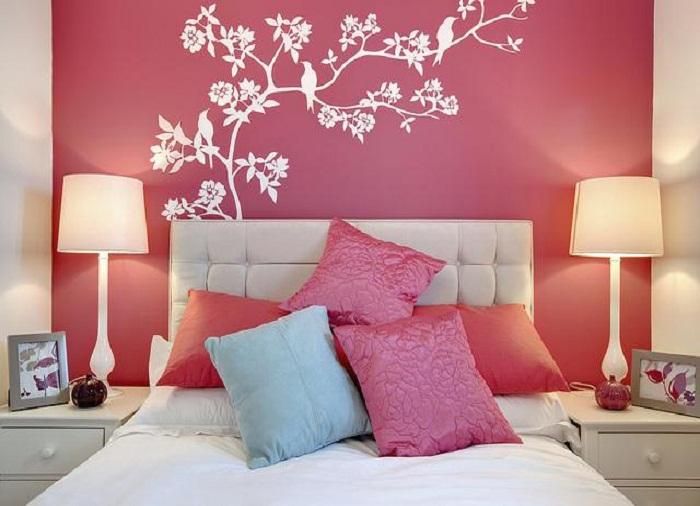
Girl's Bedroom Ideas

So you need some girl’s bedroom ideas to paint your daughter’s room, you have come to the right place.

It will happen to all little girl’s at some point in time. They are no longer interested in the characters of the toddler world any more. Their bedroom, decorated in Sesame Street, Dora the Explorer, or even Barney no longer seems suitable. It is time to redecorate.

For many, redecorating may be an extreme venture, but all that is really needed to get started is to give the room a fresh, new coat of paint. If you are purchasing a new bedspread set, you might want to consider the colors of that set prior to painting. Here are some painting ideas that little girl’s are sure to love:

Girl’s Bedroom Ideas #1: The two toned look.

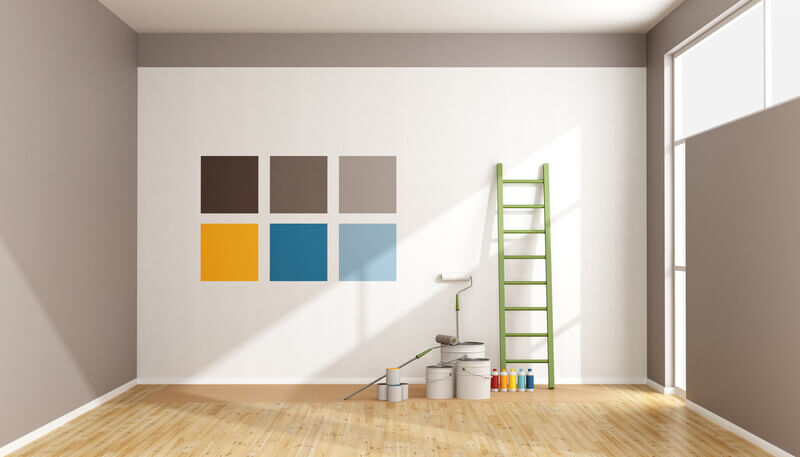
Choose two colors that compliment each other. Many people, when trying this technique, usually stay with two shades of the same color. If you want to go this route, choose a color that your daughter likes and paint the bottom half of the room in the darker color. This works best, especially if the bedroom is smaller. You can try to reverse that if you have a larger room. To separate the two colors, use a white chair rail to go around the walls of the room. The chair rail should be at about 36 inches from the floor.

However, even though most people go with the same color in two shades, I prefer to use colors of different shades, even colors on the opposite of the color wheel. Great choices for a little girl’s room might be:

1. Pink and Orange.
2. Pink and Lime Green.
3. Lime Green and Purple.
4. Purple and Yellow.

Girl’s Bedroom Ideas #2: The diamond look.

Once a popular look in designer rec rooms, this look works really well in a little girl’s bedroom. Again, this look involves two colors. Paint the wall a base color, such as yellow, and add large purple diamonds around the room. This looks great if the diamonds even cross over to another wall. The diamond’s should be large, probably at least 3-4 feet in height.

Girl’s Bedroom Ideas #3: The garden look.

Strait from the pages of “The Secret Garden”, you can make your little girl’s room her own little secret garden. Try painting the walls all one color to begin with. Then add beautiful painted flowers along the bottom of her walls. The flowers should be large to be enjoyed, at least 24″ in height.

Turn one wall into the wall of a garden shed, complete with a wooden door and window looking out into the yard.

Girl’s Bedroom Ideas #4: The fairy castle look.

Turn your girl’s bedroom into a fairy castle of her own. Paint the walls in the grey stone of a castle, and give her her own turrett in the corner. Make sure to give her plenty of windows to overlook her “land”.

This idea has plenty of options. Take a few fairy tale books and look throught he pictures for ideas that your child likes best. A painting, or even a decal, of her favorite princess may be an option to grace one wall. This princess could be her roomate and guest to join her in tea parties and sleepovers.

Girl’s Bedroom Ideas #5: The horse farm.

Little girl’s are often in love with horses, and their bedrooms can easily be turned into a horse farm. One wall could serve as a horse barn, with a few stalls and horses looking out of them. Another wall could be the pasture, with horses out grazing. Yet another wall could overlook the rolling hills of the horse lands.

If horses are not something your little girl desires, this look can be customized for another animal, such as dogs, cats, etc.

With these ideas, your little girl is apt to have the best bedroom around, and is sure to be the favorite hangout of all her little friend’s.

If you yourself are not that skilled at painting, try finding a local artist to help out. If a budget is of concern, try looking around at local colleges or even the high school for an artist. They would be thrilled for the work, and will often charge a lot less than a professional artist.

Thank you for reading this article! If you have any further questions about this topic please contact us.

Creative Ideas on Painting a Kid’s Bedroom

painting a kids bedroom

Painting a kid’s bedroom can be the most fun room in the house to decorate. You get to be off the wall, colorful, and there are no rules. You can be as wild as you want and it actually ads to the room. Painting a kids room is no exception to this rule. I love painting kids rooms because you can do practically anything you want and be more artistic than in any other room in your home.

You will want to paint the room to go with the room’s theme. If the room is done in a baseball theme, you can paint the top half of the wall a sky blue and the bottom of the wall a dirt brown. If the room is done in a duck theme, consider painting the wall a soft yellow. The paint color of the room can really pull the room together and do more for the theme than any other part.

You may want to consider actually painting designs on the walls. I love to do this! This is where you can have the most fun and add the most to your kid’s room. There is no limit to the excitement you can add to the room by painting designs and pictures on the walls!

Space themed kid’s rooms are a lot of fun to paint! You can paint the planets on the walls, paint the background of the walls black or dark blue, and paint stars on the ceiling with glow in the dark paints. To paint the planets on the walls you will want a book with clear pictures of each planet. You need to draw each planet onto the walls with a pencil first, this way you don’t run the risk of doing a very sloppy paint job where the planets don’t even look like planets. By using a pencil you will be able to erase all of your mistakes until you have them drawn perfect, and then paint them onto the walls.

Fish aquarium themed kid’s rooms are fun to paint also. You can paint the walls blue, then use a pencil and draw on all of the fish. Don’t forget to draw on the other sea life, such as coral. You can even include a shark or some dolphins; after all, this is a pretty big aquarium!

You can have fun painting the themes onto the walls no matter what the room theme is. Whether it’s trains, planes, boats, teddy bears, Barbie, or sports; you can paint it on the wall!

Thank you for reading this article! We hope you got a lot of inspiration for painting your kid’s bedroom. If you have any further questions about this topic please contact us.


Tips for Unique Home Exterior Painting

home exterior painting

Home Exterior Painting that Showcases Your Creativity and Unique Personality

When you have a close look at your neighbourhoods you will realize that majority of those homes are painted in the same design, colour, and layout. It is advisable when you want to repaint the home to be original and avoid uniformity at all cost and you will end up having a smart home different from the neighbourhoods. The colour you choose shows gives you a chance to show case your creativity and also brings out your personality.

In some neighbourhoods, you will find out that it has a homeowner’s association and some rules, In this case it is good to adhere to the rules and regulations before repainting your house. This is your home and therefore you have a right to choose colour you want irrespective of what the surrounding neighbours like or dislike about your favourite colours. So be adventurous and do your home exterior painting, without much consultation from your neighbours. For any consultations, it is always wise to get experts or professional opinions. The experts are able to support your choice and help them improve on it other than criticise it.

It is always wise to select a house-painting colour that has a meaning since most people will tend to ask you why you chose the colour. It can be fun when you select the colours of your favourite animals, for example, the zebra. In such a situation, probably the house will be painted black and white. You can also decide to paint from other symbols. For instance, you can also choose the colour of your flag. In some situations, you can get confused and is not sure of the end result of a certain colour. It is good to apply a little of the colour of choice and maybe have the trim painted that bold colour as an accent to the overall colour and see how you like that. In such situations, it is equally good to consult your contracted painters since their options can be nearly limitless. They will always advise you on colour ideas and colour combinations and go ahead to show them their previous projects. This makes you more creative in your choices for the home exterior paintings. In case you have questions concerning the layout and the colours to use, the contracted painter can be of great help.

Lastly, there are some words of caution to take heed of. If for instance your neighborhood has a homeowner’s association that follows rules concerning your house paintings, it is always good to adhere to them. In this case, have adventure and fun in your home exterior paintings and be very unique for better results.

Thank you for reading this article about home exterior painting! We hope it was very helpful. If you have any further questions about this topic please contact us.

Oil Painting

oil painting

Many varieties of art can grace a wall: prints, photographs, friezes, assemblages, textiles, even cels from animation. But the depth and warmth of oil paintings has made them the favourite category of art for centuries. If the art you’ve lived with has been confined to prints and other flat genres, you’ll be amazed at what a difference an oil painting can make.

Oil Paintings: Originals or Reproductions

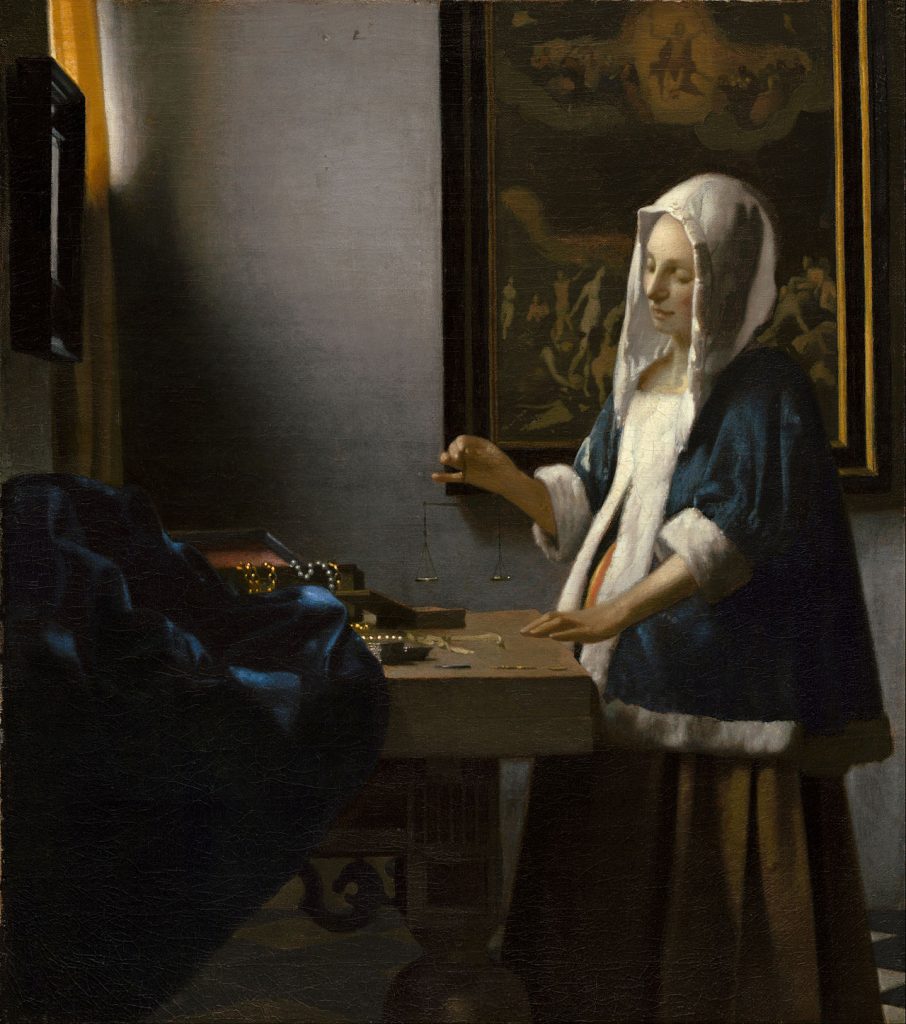
Perhaps you have always loved Vermeer’s Woman Holding a Balance, and have lived with a print of this magnificent work for years. Imagine now an oil painting reproduction of this scene. The string of pearls on the table can now be seen as individual brushstrokes. The contrast between her creamy skin and the soft fur edging her jacket now has real texture. Your appreciation of this lovely vignette can be immensely increased.

But reproductions are not your only option. Original oil paintings can also be extremely rewarding, but it may be hard to find something that suits both your taste and your budget. Galleries found on the Internet are a splendid source for original oil paintings.

Museum quality oil paintings can add richness to your life and warmth and texture to your environment. Whether it’s the satiny sheen of Rubens’ skin tones or the exuberant splatters of Jackson Pollock, the tactility of an oil painting is an inherent part of the work. With famous paintings and the work of unknowns alike, seeing the stroke of the brush or the impasto built up with a palette knife is an essential part of the appreciation of the work.

Thank you for reading this article! If you have any further questions about this topic please contact us.
NYLO Hotel in Texas: March’s Destination for Artists

NYLO Hotel in Texas

This month’s Destination for Artists is a mix of sensibilities that most artists can appreciate. Visitors to the NYLO Hotel in Plano, Texas are immediately struck with the fantastic artwork combined with ecological hotel design.

First Impressions

In the lobby, behind the check-in desk, is a photographic collage created by local photographer Jason Janik. From far away the piece looks like an abstract. As you get closer you realize that the collage is made of small photos that Janik took of the local area. Not wanting to take pictures of just the glamorous side of Plano (a suburb of Dallas), Janik incorporated closely cropped shots of things that most people would over look to include in their art, such as a Wal-Mart sign.

As you move towards the elevators you notice the glass antler chandeliers and then your eye is drawn to the fantastic, larger than life artwork on the hallway wall. These three pieces become almost abstract as you approach them, the opposite of the art first piece of art in the lobby. Simple black strokes on white draw you in and almost makes you forget to get on the elevator.

The New-York style rooms carry on the style and artistry that was found in the lobby, though the feel of the art becomes more local feeling, with Texas sunsets and black and white photos of bull riders.

The art for the NYLO was chosen through a local art contest created by the hotel. Over 500 participants entered. “(Art) is the core of our brand,” says Patrick O’Neil, the general manager of NYLO Plano and director of the art contest. O’Neil says that it was hard to organize the art that they received and make it into a cohesive collection for the hotel, because it was luck of the draw. But he says that, “It came together organically.” Some of the NYLO contest winners were Jason Janik, Darrell Moseley, Lorraine Haan-Stewart, LRPS, Greg Piazza, Caryl Gordon, and Amanda Smith. (See picture, below.)

On Deeper Inspection

Contrasting and blending with the art is the ecological awareness of the hotel. The walls are bare, raw concrete, which CEO John Russell says is easier to heat and cool, saving electricity. Guests are encouraged to reuse towels to save on electricity, 50% of which is from wind power. The trendy packages for personal items are biodegradable. “It’s a big push to save our planet,” says CEO John Russell, “and to conserve resources.”

Together, the art, design, and ecological consciousness comes together in a place that savvy artists will appreciate and enjoy.

Thank you for reading this article about the NYLO Hotel in Texas! If you have any further questions about this topic please contact us.


Landscape Painting

landscape painting

Landscape painting is among the most popular of all genres for artists and viewers alike. It’s a very broad term, which includes everything from the delicate frescoes on the walls of ancient Roman villas to the abstract Impressionist Waterfall by Arshile Gorky. It seems that as long as there has been art, there has been landscape painting.

You can find an incredibly wide range of landscape paintings in every age, school or artistic movement. From Romantic forest scenes to surrealist deserts that never existed, landscapes offer nearly infinite variety. Lush as Vermeer or cryptic as de Chirico, landscape paintings are almost always easy to live with.

Original Landscape Paintings

It is perhaps for this reason that original landscape paintings by lesser known artists are viable in the art marketplace. Even a clumsy or naïve landscape can have a certain charm, and one done competently can be a wonderful addition to a home or office. Browsing the online galleries can show you the amazing selection available.

A good landscape painting is never boring. Like any work of fine art, it should repay repeated viewings with new rewards. A masterpiece of landscape painting, by Constable or Turner perhaps, contains as much mystery and subtlety as the finest of portraits or the most conceptual of abstractions. That, combined with their undeniable decorative assets, makes it small wonder that they are among the most popular of all works of art.

Thank you for reading this article! If you have any further questions about this topic please contact us.

Still Life Painting

Cezanne's

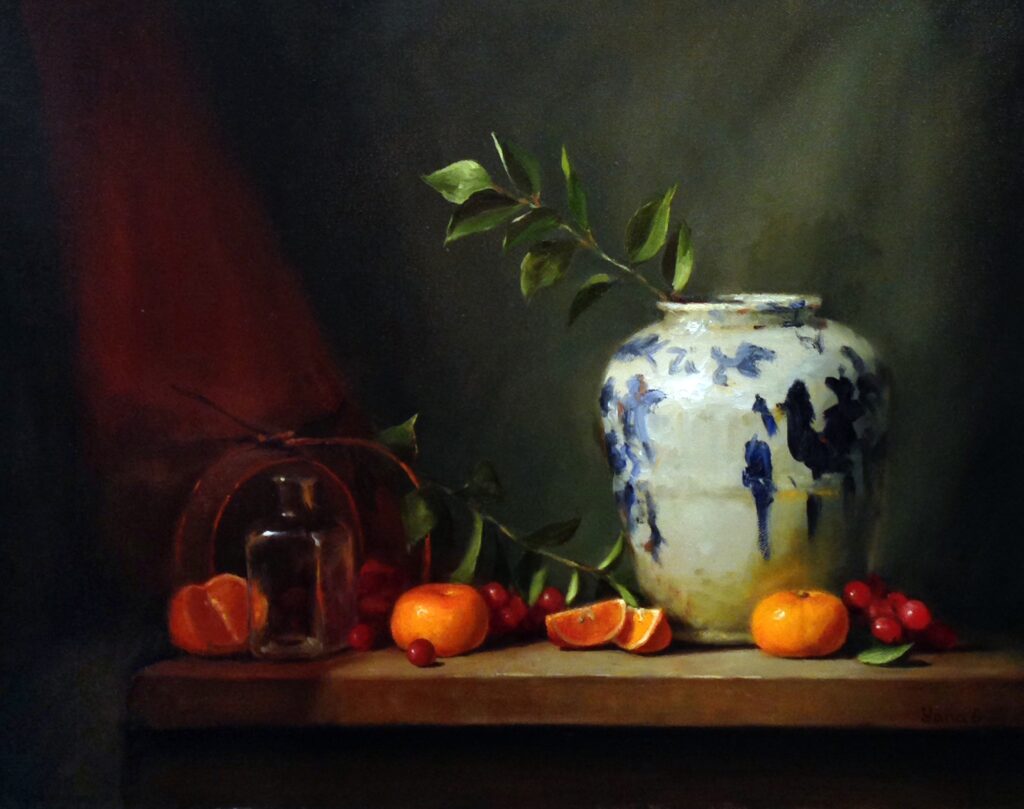
Still life painting is a genre that has timeless appeal. Though subjects may range from a slab of meat to Vincent Van Gogh’s old shoes and Cezanne’s fruit paintings, most people think of still life paintings in terms of fruit bowls and flowers. Highly decorative and very adaptable to different environments, still life paintings may be the easiest of all great art to live with.

Cezanne’s still life paintings of fruit are an excellent example, combining as they do a traditional, representational subject with a glowing, luminous palette and vigorous brush and knife work. Cezanne’s Still Life with Oranges looks as much at one with its environment in a glass and steel loft as it does in a dark-paneled study. The power and energy of this painting almost belies the phrase “still life.”

Redon’s flower paintings are also gems of this genre. Though more frankly decorative, they still offer mystery and vitality through gorgeous juxtaposition of colors. In his Anemones and Lilacs in a Blue Vase, for instance, the flowers seem to shimmer in mid-air, the vase fading insubstantially into shadow and the table barely hinted at.

A Wide Range of Styles in Still Life Paintings

Traditionalists might find the still life they love in the works of Henri Fatin-Latour, with their muted colors and meticulous attention to detail. Braque’s cubist Still Life: Le Jour, with its sharp angles and acid greens, will suit a more abstract sensibility, while still remaining eminently livable. Within the broad confines of the still life genre, there is an image to suit every taste.

Thank you for reading this article! If you have any further questions about this topic please contact us.
How to Paint a Landscape

paint a landscape

Painting in general isn’t exactly everybody’s ballpark. Some people do it professionally, some as a hobby, some not at all. However, painting has been proven to provide beneficial stress-relief affects for anyone, regardless of their full-time profession, their skill, or their intent for painting in the first place. Actually, if painting is practiced without the pressure involved in a professional art career, it is of much more benefit as there is nothing involved but the sheer enjoyment of the experience of say, to paint a landscape just outside your own front door. The best part about painting and art in general is that you’re the boss of your own creation, there are no rules (or no rigid rules) except that the more you experiment the more fun you’ll have and the better the result will be.

How to Paint a Landscape with Watercolors or Acrylic Paints:

Step 1 (Optional):

– Map out your composition or design and/or decide on a general color theme.

Step 2:

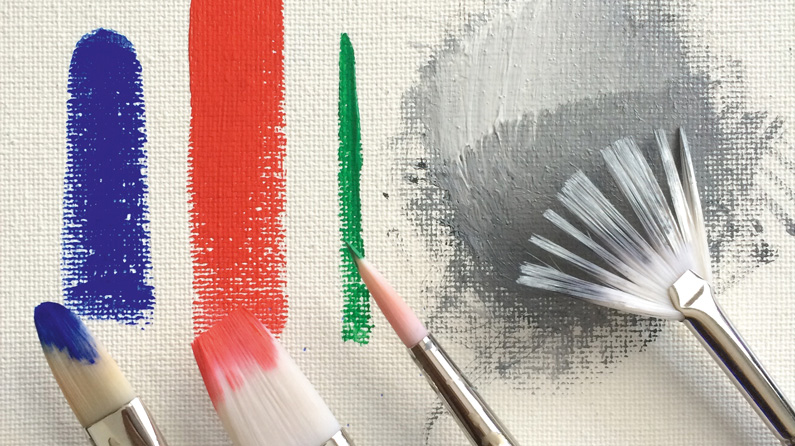
– Choose a large size brush, any kind or make, then choose any color you like and water it down with a little bit of water. Strain your brush.

– With large free brush strokes, start applying the watered paint across your paint surface, paper or canvas; start filling in the largest areas first, most importantly, the background.

Step 3:

– Choose another color, one in contrast with your first color would be best. Then start filling in the foreground or the area on the bottom of your paint surface.

Step 4:

– Observe which painted areas appear too thin or transparent, if you like it that way then move on to the next step. If you feel it needs more work, then start applying more layers, either of the same color mixed with other colors, or just that one color without so much water.

Step 5:

– Fill in any areas which you don’t want to leave empty, then consider adding texture through applying dots with your brush, or use a tissue, or your fingers. Apply several layers of colors with different affects to get the final mood you’re striving for.

Step 6:

– Step away from the painting. Think about what else it needs. If you feel like adding splotches of green, blue, yellow, etc. then just go ahead. Do what you feel till the image appears relaxing to your own eye.

Step 7:

– Congratulate yourself on your first attempt to paint a landscape!

Tips:

Mixing colors can be a bit tricky, here’s a quick guide;

Red + Blue = Purple

Red + Yellow = Orange

Yellow + Blue = Green

Any color (eg. Green) + white = a lighter color (eg. Light green)

Mix all the colors together, you’ll get a brown-black

The secret is to play around with it and simply enjoy the process. Art is about experimentation and expressing whatever you feel through colors and brushstrokes. The landscape is YOUR landscape, it can be any color you wish, and can have any horizon you desire. If you’re observing a landscape, try to capture the contrast in colors, whichever colors you choose, it doesn’t matter, as long as you try to get the feeling of what you see.

Thank you for reading this article! If you have any further questions about this topic please contact us.

Tips for Perfect Painting Techniques

painting techniques

Learning how to paint is not rocket science, and with the right painting techniques it is something that is possible for anyone to learn. All it takes is a bit of practice and some patience and you are sure to be painting like a professional in no time. However, before you just jump right in, these tips can help you ensure that you are off to the right foot and stand a chance of having a better success than tragedy with a paintbrush.

Your first step in learning different painting techniques, should always be gathering all of your supplies before you start. Even the most skilled painters are going to lose their train of thought if they much run around searching for all of their supplies while they are attempting to paint. Putting the supplies in the middle of the room you are going to paint is usually a good idea, this keeps them close enough to easily access, while keeping them out of your way in the wall area.

If you are trying to use a roller, you want to make sure you use the appropriate roller. For smooth surfaces choose a short nap and for rough surfaces choose a longer nap. Once you have this settled out it is time to start rolling your roller into the paint. Starting with a slightly damp roller will allow you to evenly coat the roller and provide the best results possible. Once you start applying the roller onto the wall, it is important to roll in a diagonal direction. This will provide the best coverage possible, once the entire wall is covered you can then take the roller and run in vertical lines to smooth out the coverage.

To paint with a brush and cut in the trim work you need to put a bit more time into the process. A good-sized brush to use for those cut in jobs is approximately 3″, this gives you plenty of room to seamlessly blend in the two sides with the corner to ensure that the paint is even and seamless. Using a smaller brush will mean many more brush strokes and much more opportunity to create a line in the paint. This can cause a normally beautiful paint job to have a few flaws.

You will also need to ensure that you stop every so often and clean your brush. This will need to be done once the brush starts to dry because then you are creating skips in the paint because the bristles are hard and not working properly. Stop and clean your brush thoroughly and let it dry before going back to painting. If you have two brushes, the same size you can work with one brush while the other is drying to speed the process along. In order to do the best job possible in cutting in, use a good quality brush. When selecting a paintbrush this is not the time to start thinking about a tiny budget, good quality supplies will ensure a good quality paint job every time.

Thank you for reading this article! If you have any further questions about this topic please contact us.
Simple and Quick Instructions for Painting Stripes on a Wall

painting stripes on a wall

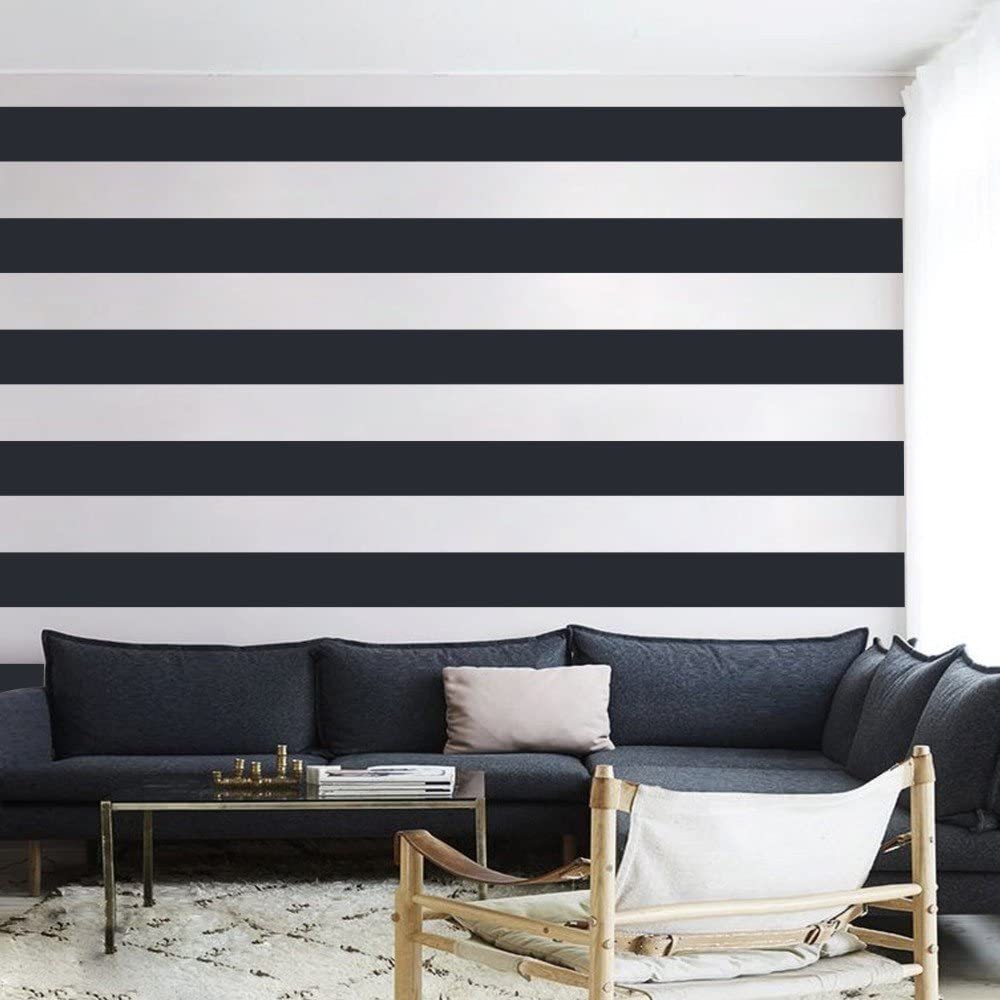
Learning how painting stripes on a wall is not that difficult. Painting wall stripes can give your room a completely different look – – horizontal stripes will make a room look wider while vertical stripes will make a room look taller. Below are simple instructions for how to paint stripes on a wall.

1. Choose the shades of paint that you will be using for the base coat and for the stripes. Paint the entire wall with a coat of the base color, allow to dry completely and apply second coat of base color to wall.

** Use painters tape to tape around windows and doors

**Using a roller will give you a good, smooth base coat

**Use the lighter color as the base coat – it is easier to paint the stripes with a darker color over a lighter color

2. Measure the room and determine the width of the stripes.

**Stripes are best if they are between 4 and 12 inches apart

**Measure the width of the wall and divide by the width of the stripes – adjust the width of the stripes if necessary to fit the width of the wall

**Beginning at one corner, measure from the corner of the room marking each stripe according to the width you determined for the stripes. For example, if your stripes are 10 inches wide, place your first mark at 10 inches, then 20 inches, 30 inches and so forth until you reach the end of the first wall.

**Work one wall at a time beginning from the corner and working toward the other end of the wall.

3. Draw lines at each mark for tape placement.

**Using a laser level to draw the lines for the painters tape will give you the best results – use a pencil to draw a straight line following the laser along the width of the wall

**Use painters tape to create the boarders for your stripes (you will be painting between the tape to make stripes) tape along each pencil line placing the painters tape on the same side of the line each time to maintain the same width for each stripe

**Using a sponge roller, paint the area between the painters tape skipping every other section to create alternating stripes

4. Allow paint to dry and then slowly remove painters tape. Touch up any spots that need touch-ups.

Supplies:

Paint

Paint rollers and/or paintbrushes

Drop cloth

Painters Tape

Laser Level

Tape Measure

Pencil

Thank you for reading this article! If you have any further questions about this topic please contact us.