Welcome to the fifth article in the series “How To Paint,” on techniques of oil painting. The other posts hopefully have laid some groundwork for the actual painting process, and now we finally get to the whole point: painting! You can read the Intro,Materials,Subject and Composition, and Color posts to get an idea of what we’ve gone over so far in order to get ready for putting brush to canvas.
Let me say that while these posts have been pretty long and I go into as much detail without writing a book, the whole painting process itself doesn’t have to take that long. Once you have your materials and supplies ready the next thing to do is just do it. Put on some music and let the painting flow. Some masterpieces took years to paint. Most of my paintings I completed in one sitting (maybe it shows). Of course those sittings can be anywhere from a couple hours to eight, but the point is it doesn’t have to be a big deal.
I explained some of the points on composition and color earlier but I must say you don’t have to follow anyone’s instructions to the t, just do what feels right. Painting can be whatever you want it to be. Perhaps you get out what you put in but it’s all a matter of perspective. You’re only going to learn by doing, but at the same time try to absorb as much information as you can about the subject. So let’s get on with it, shall we?
General Pointers
All this might be very difficult to explain so I’ve included some pictures of the techniques taken from my little camera. Be forewarned that this camera does not have a macro setting, and I never claimed to be a photographer. So take it or leave it!
Let’s re-hash on the materials. You’ve got your
- Paints- paint tubes of at least the primaries, white, and some browns
- Canvas- got to paint on something, right?
- Easel- got to hold that something somehow, right?
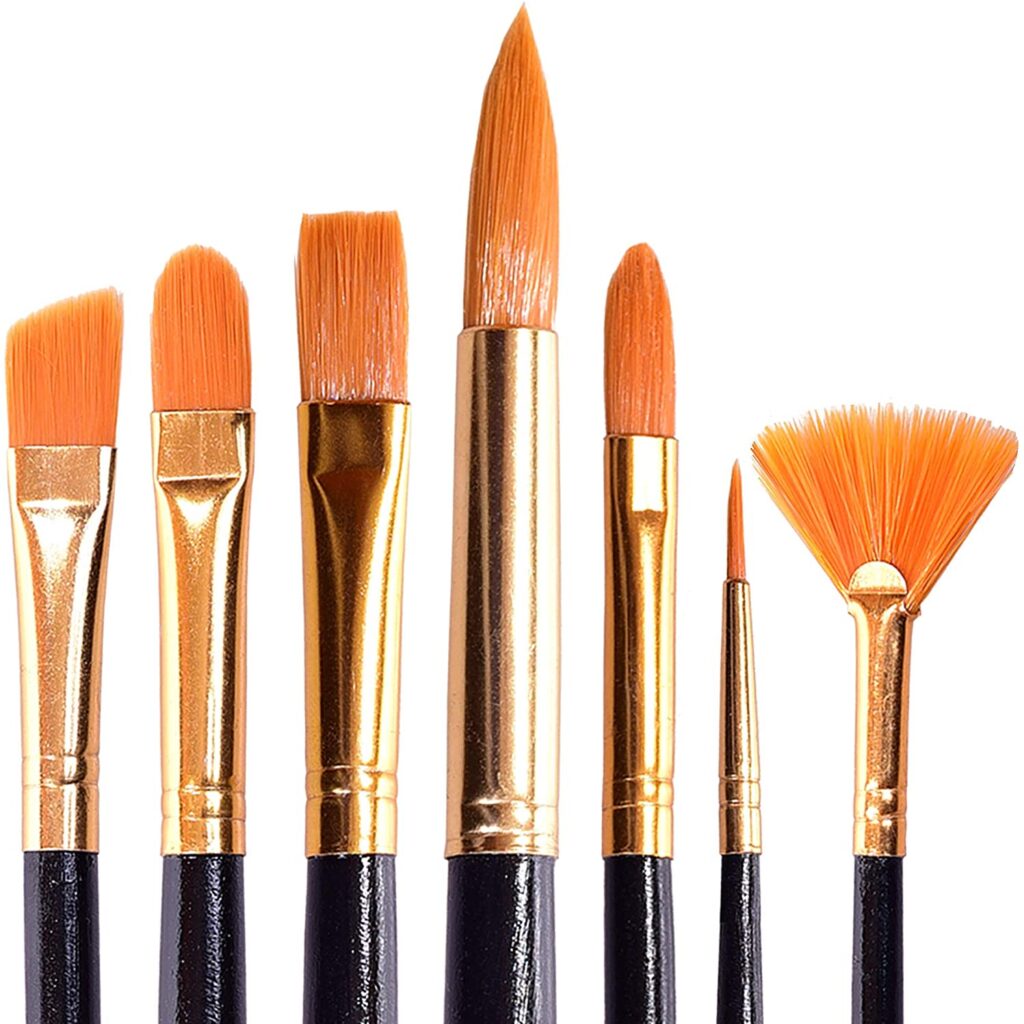
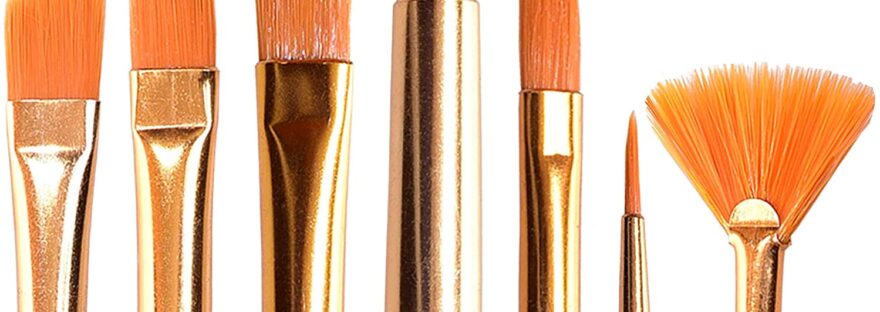
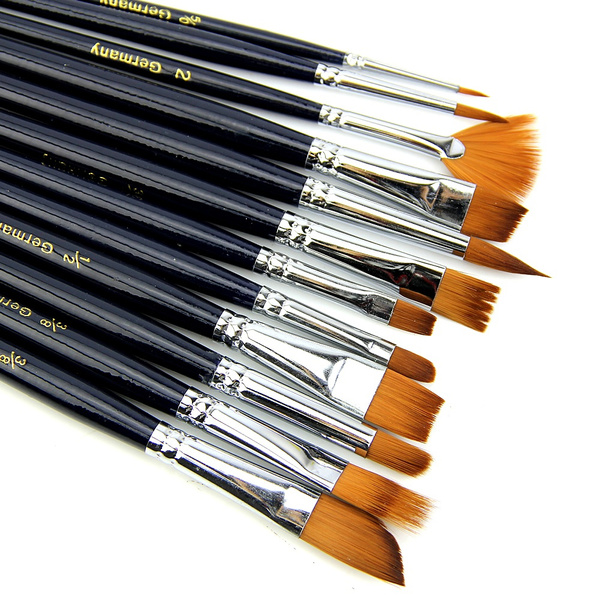
- Brushes- got to- yeah you get the picture
- Turpentine, or turpentine substitute, a paint thinner with rag
- Palette- disposable or not
- Desire- I have to be cliché some time!
So that’s all you really need to get started, and all you’ll ever need really. But you can always get more into and get a “mahl” stick to steady your hand, a “graticola” or other perspective finders, pencils or crayons for the sketching, extra mediums and solvents (though turpentine works fine for a thinner), and maybe a few more things.
I don’t go along with the idea of putting all the paints in a row on your palette before you paint for good reasons. I did this probably the first time I painted and haven’t since. I put my paints on the palette as I need them so I don’t waste any paint. If you put all that paint on your palette, who’s to say your going to use every color? So although you’ll see many artists do this, I don’t do it and don’t recommend it. But I do always put white and raw umber, because there will never be a painting that I don’t use white to mix, or raw umber to darken.
Now let me point out some properties of the paint you’re going to be using. This whole tutorial is centered around oil painting, and I probably should have said this earlier but much of these techniques can be used with acrylics as well. Acrylics are cheaper and possibly easier to use (thin and clean up with water, etc.), but I’ll concentrate on oils specifically.
As I said oil paints are very versatile and a lot can be done with them. You can manipulate in all kinds of ways. Use brush strokes to your advantage. Pile up thick impasto to give texture. Once on the canvas, you can mix it, push it around, scrape it away, wipe it away, whatever you want with it. You definitely want to get full use out of the oils, and apply the correct amount of paint. Spread out too thin and dry and you’re not getting full use of the paint. You want your paint to be the consistency of soft butter, and as you paint you’ll want to load up your brush.Dragging the paint too thin and dry will not produce the desired results.
Let’s say I wanted to turn a red spot into orange. I can mix the color right on the canvas by adding a dab of yellow. Normally you should add the darker, dominant color into the lighter color , but by placing the yellow next to the red, I can slowly pull bits of the red into the yellow until I have the color I want.
And once I have these two colors, I can blend them together. I take a dry brush and with small circular motions go from the yellow side to the red side, bit by bit working the two together as I go.
If I decide the orange is way too bright, and I wanted a much duller, grayer color, I add some of orange’s complement blue. With a dab of cerulean blue on a clean brush I work the paint into the orange until I have a much more neutral color than the bright orange we had before. This can be done to any spot of paint already painted with the particular color’s complement, or the grayer color can be mixed on the palette.
And if I wanted to lighten this new color, all I do is is add white straight to it and mix it around a little until I get what I want.
Fat Over Lean
It’s important to remember one simple rule when painting over top other paint. This rule is called “Fat Over Lean” and involves the amount of oil in your paint layers and how they dry. The paint straight from your tube is made up of two things: a.) the pigment, or ground up color, and b.) the vehicle- the oil, usually linseed oil. “Fat Over Lean” states that you should paint the thinner, or leaner layer underneath with paint that doesn’t have as much oil in it, and the thicker or fat paint, with more oil in it last.
This may sound confusing when you’re not used to painting, but when as you go along it makes more sense. When you thin the paint with thinners or turpentine, the paint has less oil than paint straight from the tube. If you tried to paint a very thin paint over thick, it won’t even stick. So when there are several layers, the darker thinner layer is applied first, with the thicker paint coming next, and the very thickest as highlights.
The reason being oil paints dry at different rates. The more oil in the paint, the longer the drying time. If you have thicker paint under thin paint, the top layers dry first and cracks while the underlying thick paint is drying. Fat over lean sees to it that the first layers dry first and the last layers dry last, keeping the paint firm and stable in the long run.
Wet In Wet
Adding wet paint into paint that isn’t dry yet is called “Wet in wet,” or “Wet on Wet” painting. The painter Bob Ross was a proponent of this technique and taught it religiously. You can purchase his videos along with painting kits with everything you need at your art supply store or on the internet. As I’ve said before you can’t get more creative following tutorials such as his where you basically have to copy what he’s doing, but they certainly have value in teaching you techniques. Especially if you’re planning on doing some landscapes, or even if you’re just starting out, his videos will be a great help to you.
Bob Ross’s technique involved wetting the entire canvas with a thin “Liquid White” underpainting, so every bit of paint from your brush mixes right in. This can help psychologically when there is something to paint or add into. A plain dry canvas can be very intimidating.
One of the great things about oil paints as opposed to acrylics is the drying time. It takes days before the paint even begins to dry, so painting wet in wet is very easy to do. Parts of the painting can be constantly changed and added to, or subtracted from. Acrylics, on the hand take minutes before they dry and are hard to alter once you’ve painted.
Ways To Paint
Now you know the basics and how to work the oils around to your advantage. You know to paint thin layers first no matter what the subject, and add paint on top with less turpentine or more oil depending on how you look at it. You can use the Wet in Wet painting technique, using a thin under painting of white, or you can purchase Bob Ross Liquid White or Liquid Clear from your supply store. Here are some specific techniques you can use to achieve your masterpiece:
1. Scumbling- This goes hand in hand with painting fat over lean and basically calls for a very thin and dark first layer, and dragging a brush loaded with thick paint over it, to get a choppy scumbled look.
2. Impasto- Painting with impasto is using very thick gobs of paint being built up. This is good for quick or expressive paintings. The Impressionists generally used impasto.
3. Impressionist- By giving the viewer impressions of the light off of objects, the Impressionists allowed your eyes to blend small patches of color.
4. Pointillism- The Pointillists were Impressionists who believed tiny spots of colors placed side by side can be blended in the viewer’s eye.
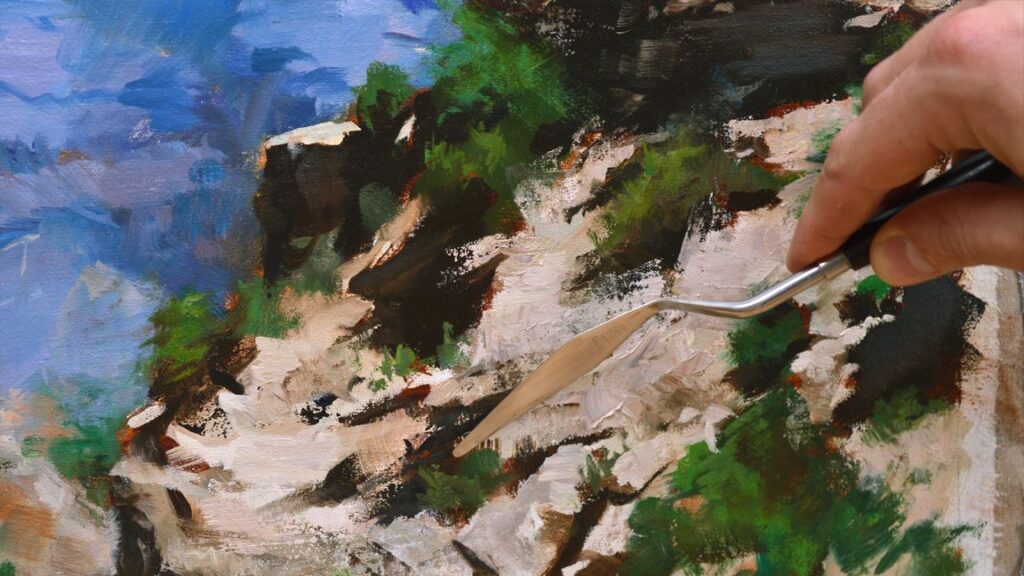
5. Painting with the knife- Painting knives can be sued for more than just mixing paint- you can paint entire paintings with them. Here you apply large patches of color if you don’t want the brush strokes to show.
6. Or use the knife for detailing.
7. Glazing- Glazing is applying layer after layer of thin paint to produce your desired colors. It’s difficult to show here because if requires the layers to dry before adding another layer. But here I show the thin layer of yellow added to the thin red to create the appearance of orange:
Now these are a few of the basics of oil painting, and like I said before you can’t learn by just watching. So try it out for yourself and see what you can come up with. Coming up I will do a step by step presentation of painting. Until then…
Thank you for reading this article! If you have any further questions about this topic please contact us.
