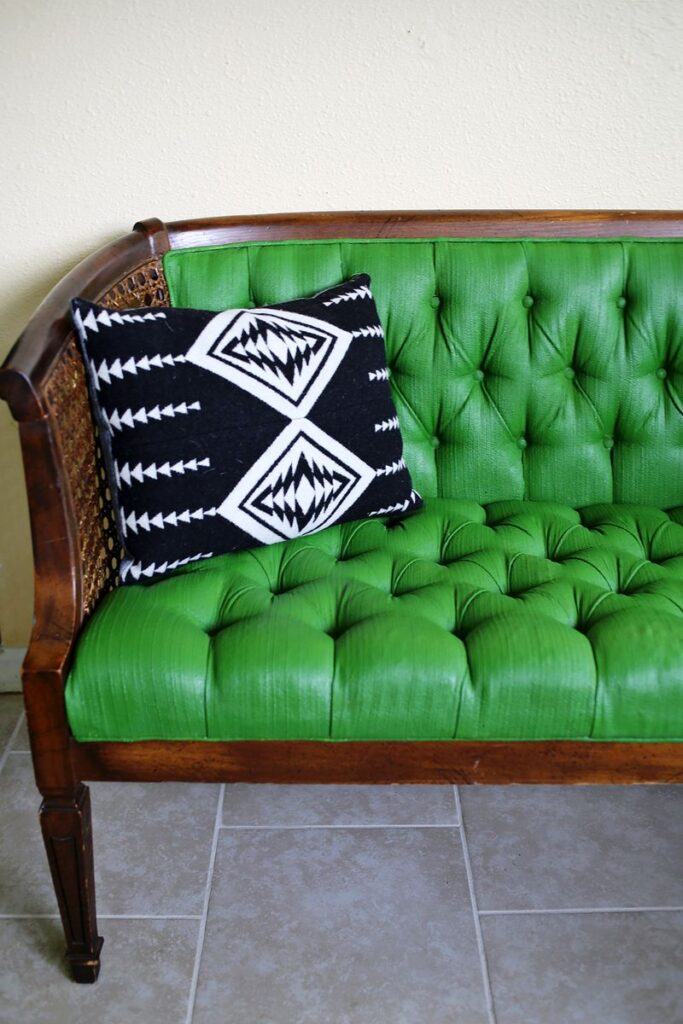
The faux leather painting technique is an extremely popular faux finish, especially on walls. A common use of the technique occurs when one utilizes the faux leather painting on the lower half of a wall in a darker color, contrasting it with a lighter color on the top half of the wall. It also works well on coffee table tops, desk drawers, and other accents on furniture pieces and decorative accents like frames.
Technique Tip #1: Gather all of your supplies together before you begin your faux leather painting technique. You will need a primer, a base coat, a matching glaze, a flat paint brush and a stippling paint brush as well as a Fitch edge paint brush, painter’s tape and paper towels. If you would like to wear latex gloves or any other protective gear, then do that first.
Technique Tip #2: Before you begin your faux leather painting, tape off the edges of your project. Measure carefully and make sure your lines are straight if you’re doing a half wall or stripes.
Technique Tip #3: Start by priming the wall or the object you are decorating with a faux leather painting technique. Allow it to dry completely.
Technique Tip #4: Next, apply the base coat to the wall when your primer is completely dry. This is applied using a flat brush. Allow it to dry normally and completely before moving onto the next step.
Technique Tip #5: When the base coat is completely dry, it is time to apply the glaze. This is the most important part of the faux leather painting technique. If you are using this technique on a large area, consider doing this part in sections to make sure that it doesn’t dry before you have time to use the brushes to create the faux leather effect.
Technique Tip #6: After you apply the glaze, use the stipple brush randomly to soften the brush marks left by the flat blush during application.
Technique Tip #7: Use the Fitch edge brush along the edges and corners to blend the brush marks again and finish off the faux leather look.
Technique Tip #8: Allow the glaze to dry completely. If you would like, apply a clear and thin sealant on top to protect your work.
Sources
Tips for Faux Leather Painting
Paint Technique: Faux Leather Instructions
Thank you for reading this article! If you have any further questions about this topic please contact us.
