Animal Gallery

animal gallery

Take a cyberstroll through the animal gallery of any online art source and you will be delighted at the variety of offerings. From Matisse’s goldfish to wall murals of whales, from Beatrix Potter’s Flopsy to a wolf howling on a glacier, from a kitten in a hammock to a lion on the hunt, you can find an image to suit your taste. There are several categories of pictures to be found in the animal gallery: jungle animals, farm animals, birds and fishes, forest denizens and domestics, to name just a few.

The Animal Gallery Is a Great Source for Art for Children

I’ve always believed that children can enjoy “real” art just as much as images from fairy tales and cartoons. Isn’t Durer’s gentle, observant engraving of a hare just as appropriate for a child’s room as Bugs Bunny? The term Futurism means nothing to a four-year-old, but I’ve never seen a child fail to be amused by Giacomo Balla’s Dynamism of a Little Dog on a Leash.

How lucky we are these days to have the Internet! When my son was small, I searched galleries in every city I visited to find a print of Balla’s whimsical painting, and for Paul Klee’s The Red Balloon. I never found either one. Thanks to online galleries and poster shops, however, my grandson’s room is decorated with both.

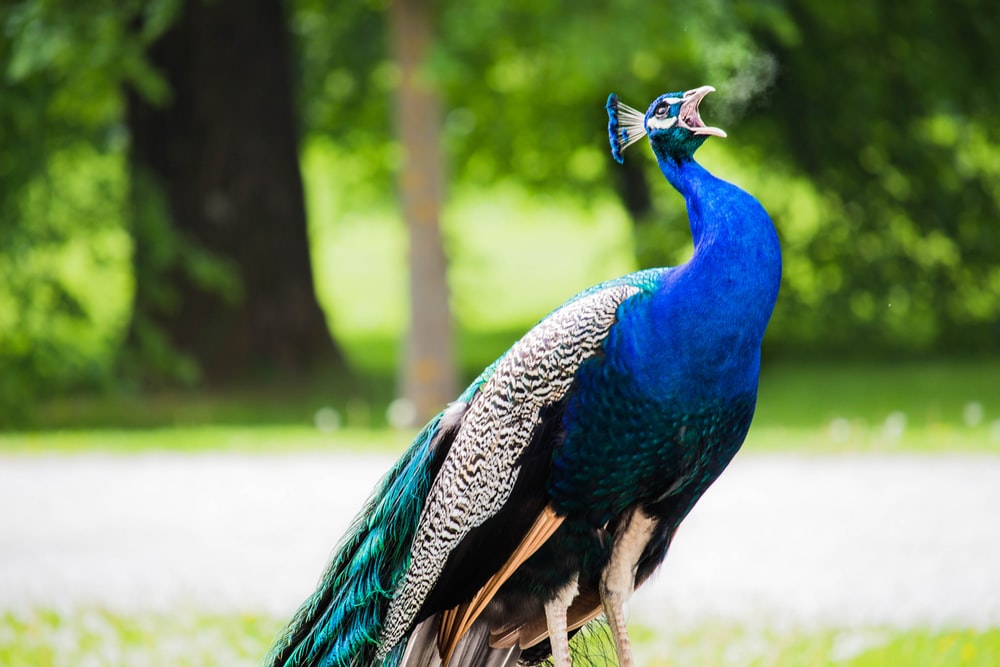
Take your child with you to visit an online animal gallery and see what tickles him or her. It may be that faux-primitive painting of a big red cow, an up close and personal photo of an ostrich or a Japanese print of a cat. It’s never too early for art.

Thank you for reading this article! If you have any further questions about this topic please contact us.
Palm Tree Painting

palm tree paintings

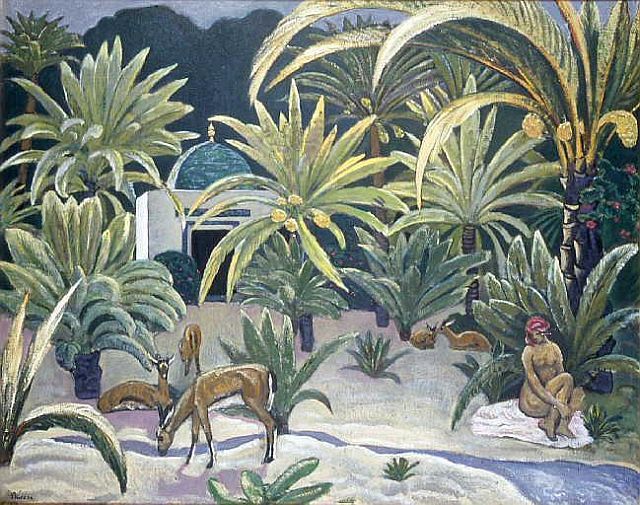
It might be December in Saginaw, but your home can still have a tropical ambience with the help of some palm tree paintings. Indulge your imagination and let your soul wander into a painting of a tropical sunset, a harbor in the Antilles, or a faraway isle that exists only in the mind. If one of the purposes of art is to provide an alternate reality, why not make yours paradise?

Matisse, Rousseau, Gaugin and other post-Impressionists are the first artists who come to mind when thinking of palm tree paintings. Their bold use of color and vivid, even aggressive imagery creates a jungle atmosphere that can be mysterious, even threatening, yet highly decorative. There are also more traditional tropical landscapes by Turner, Homer and Whistler.

Immense Popularity of Palm Tree Paintings

The genre of palm tree paintings is, however, dominated by lesser-known artists and commercial painters. In the past few years, there has been an absolute rage for the palm motif, in everything from bedspreads to brooches. You can find prints of palm trees in department stores and even discount stores these days, most of which are very generic and almost indistinguishable.

Don’t let that stop you, though, if the tropical landscape is what you want. Choose one that speaks to you, that creates an emotional response, and invest in the very best quality you can find. The fad will eventually pass, but if you’ve found a painting you love, its appeal will live on.

Thank you for reading this article! If you have any further questions about this topic please contact us.

How to Select Paint Colors for the Perfect Artist’s Palette

select paint colours

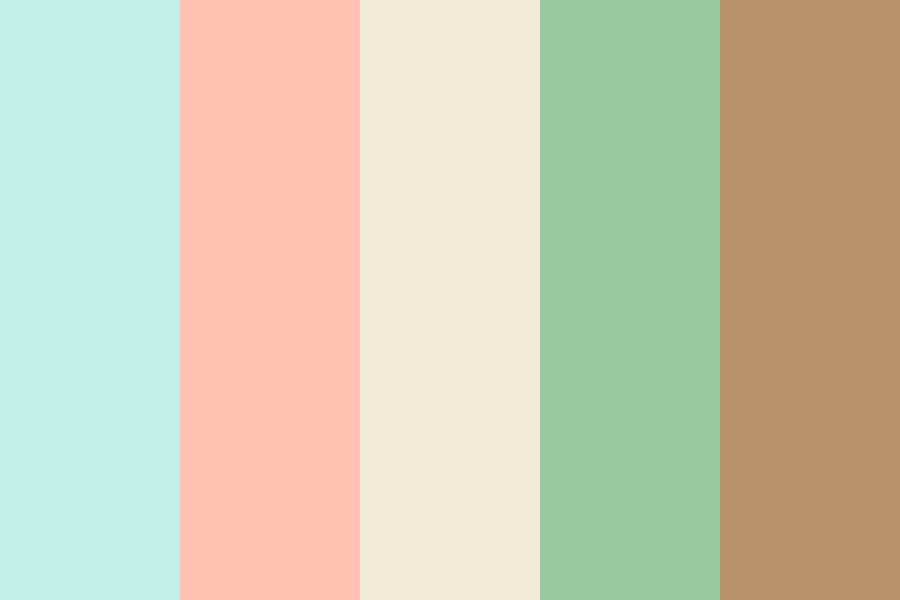
Painters have endless choices when the time comes to select paint colors for their painting palettes. Any seasoned artist knows that too many colors can detract from a painting, not enhance it.

With so many different hues and brands, how is a painter suppose to select paint colors to build their perfect palette?

One way to select paint colors for a painters palette is to start with only a few colors. Start with a palette of the primary colors and add on from there. Many artist’s palettes contain at least one or two blues, one or two reds, and one yellow.

Even when you decide to start with three to five colors, how do you tell the difference between each hue? You could purchase a pre-selected set of paints. However, the yellow in that pre-determined set may not be the right yellow for you. Then again, you don’t want to purchase a tube of every paint available. Chances are you cannot afford to do that anyway.

Here is a guide to different hues of different colors, and best choices for creating the perfect artist’s palette for your work.

Select Paint Colors for the Perfect Artist’s Palette

Paint colors all exhibit different levels of opacity or transparency. Colors are also warm or cool. Select paint colors that are the right colors for your purposes.

Blacks

Mars Black should be used in small increments. It is best suited for tinting paint.

Payne’s Gray is the most versatile “black” available. Payne’s gray is a cool, bluish gray that can create shadows. Payne’s Gray can also be used to modify any other color. When diluted with watery, Payne’s gray becomes incredibly delicate. Payne’s gray cans also appear ink-like.

Blue

Cobalt Blue is a cool blue. Cobalt blue is also a softer blue than others. Cobalt blue is a good choice for a landscape artist. When mixed with yellows, delicate greens can be created. Mix cobalt blue with brown and white for a pearly gray color. Use cobalt to shadow pale peach colors.

Creulean Blue is an opaque, cool blue. Creulean blue is a top choice for landscape artists, and can be used to paint skies. Landscapes will also find that when mixed Creulean blue creates greens and grays that are delicate.

Manganese Blue is a bright blue sky hue that is transparent. It can be used to effectively express both water and sky. Seascape artists will want Manganese Blue in their palette.

Thalo blue is a general purpose blue for many artitist’s palettes. Thalo blue is transparent. It is also a cool color. Thalo blue can dominate a painting, so it should be used with a light stroke. Thalo blue makes a good choice for watercolor washes, or for an acrylic glaze painting.

Ultramarine Blue is a warm, not a cool blue. Ultramarine blue is also a transparent blue, which makes it an ideal blue for glazing techniques. Ultramarine is the most versatile blue, and for that reason, is the best blue for any artist’s palette.

Ultramarine blue can be blended with other colors for a range of new colors. Ultramarine blue can be mixed with yellow ochre paints to make subtle and soft greens.

To make purple, do not mix Ultramarine Blue with a cadmium red unless you are trying to make a purple color is cloudy and muddy. Instead, mix Ultramarine Blue with transparent crimson, instead, to make a very useful violet color.

Browns

Many shades of brown can be made by mixing a warm red with green. Adding yellow to that resulting brown also creates a family of yellow, earthy browns. For tube browns consider these colors:

Raw Sienna is a somewhat opaque brown. Raw Sienna is a warm brown.

Burnt Umber is a deep brown. Burn umber is somewhat opaque. It can be mixed with blue and white to create cool gray colors.

Raw Umber is a yellowish brown. Raw umber is subtle and subdued. It is best used when mixed with other colors to produce a range of color tones.

Greens

Chromium Oxide Green – Chromium Oxide green is an almost dusty green. It resembles a faded olive green. Chromium Oxide Green is an opaque green and will not reveal the underneath color or underpainting. Chromium Oxide Green is an earthy color that can be used to indicate shadow, or used in an underpainting.

Hooker’s Green – Hooker’s Green is a transparent green. Hooker’s Green is a must for any landscape painter. When mixed with other earthy browns and yellows, Hooker’s Green can create an endless outdoor palette of nature. Hooker’s green is also a soft green.

Thalo Green – Thalo Green is a vivid green. Thalo green is also a transparent paint, which is ideal for glazing techniques. Thalo green is a strong tinting color. Thalo green, when not toned down will actually jump of the canvas at the viewer. One way to warm up Thalo green is with a brown or red. Any palette with Thalo Green should also include one of those colors.

Mix Thalo Green with a transparent yellow to increase its intensity

Reds

Alzarin Crimson

Cadmium Red comes in light, medium and dark. Cadmium Red is a dense and opaque red. When mixed with yellow, it makes a perfect orange.

Cadmium Red Hue is a substitute for Cadmium Red. The hue is not as brilliant as Cadmium Red.

Thalo Crimson is a bright and transparent red.

Yellows

Yellow is a color that cannot be created, unless you are making your own paints. The yellow pigment, however, cannot be created. Select at least one yellow for your palette.

Azo Yellow

Cadmium Yellow comes in light, medium, or dark. Artists could start with medium, but will find that the light Cadmium Yellow offers the most versatility. Cadmium Yellow is more opaque than transparent, do not be fooled because it is considered a “light” color.

Cadmium yellow can be mixed with many earth colors to create diverse landscape palettes.

Hansa Yellows Light also comes in in light, medium, or dark. Hansa Yellow is a transparent, lemony yellow. Hansa yellow also adds a delicate quality to paintings.

White

Watercolor purists will not touch white. The white for watercolorists is the white of the paper. Acrylic painters, on the other hand, live and die by large tubes of white paint.

Titanium is the only choice for acrylic painters seeking a dense, bright white.

Thank you for reading this article! If you have any further questions about this topic please contact us.
Religious Paintings

religious

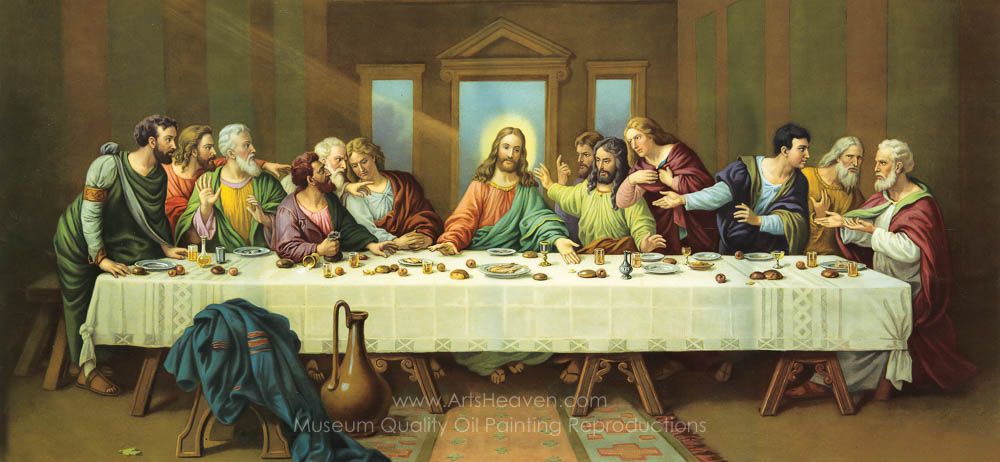
Religious paintings are valuable to use for so many reasons. First, religious paintings comprise the most important paintings in the world. The Christian paintings of the Renaissance are among the most splendid, beloved, and financially valuable artworks in the history of mankind. Christian artwork includes some of the most historically important masterworks in the world.

Paintings for Spiritual Uplift

For Christians, however, the value of religious paintings goes well beyond the historical. For religious people, these paintings are a source of inspiration and guidance. It’s particularly worthwhile to have these paintings and prints in one’s own home.

Biblical art helps educate your children, firing their imaginations and stirring their interest in the Bible. Paintings of Jesus help us adults to keep our priorities in line. These works can be a defense against temptation, or a source of comfort during sorrowful times.

What’s more, paintings of religious scenes or portraits of Jesus are beautiful to the eye. There’s nothing wrong with filling your home with colorful, lyrical paintings. Beauty is inspiring and fortifying. It is one of the great pleasures of the Christian life.

Thank you for reading this article! If you have any further questions about this topic please contact us.
Abstract Art

abstract art

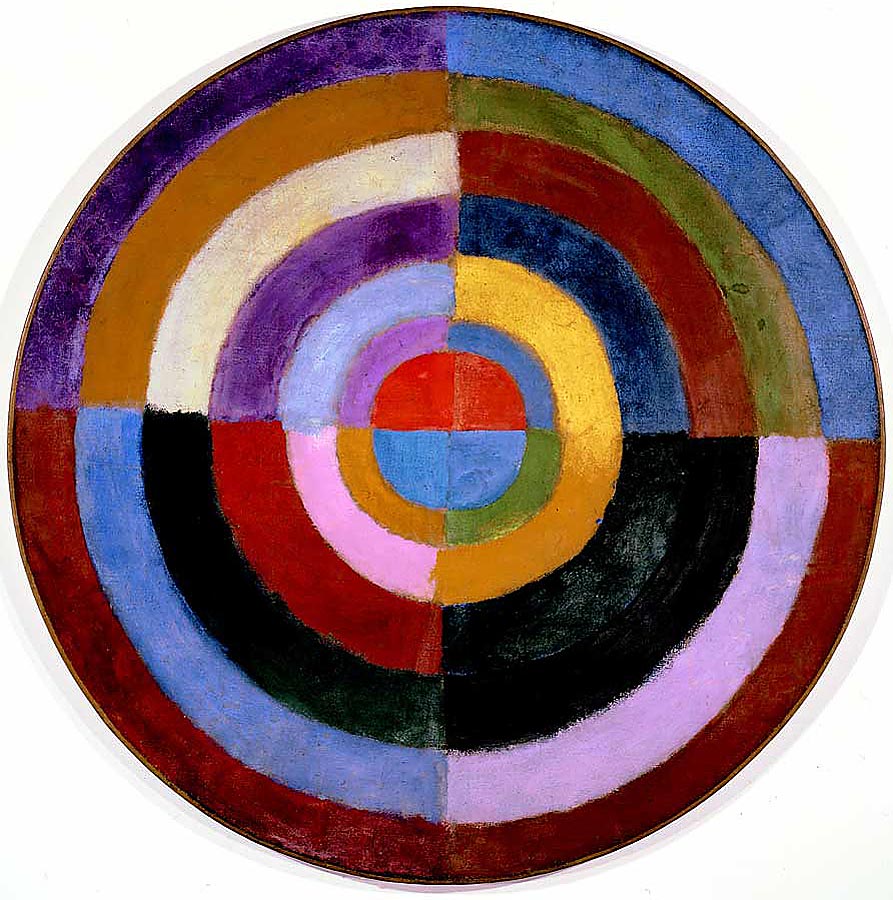
Abstract art can be an acquired taste, like martinis or anchovies. An appreciation of art that shows no recognizable subject requires patience and an open mind for those who have previously been exposed only to representational art. But like a good martini, once you come to enjoy it, an abstract art painting can made you positively giddy!

One thing that keeps some people from enjoying abstract art is that it often looks effortless. You could look at a painting by Franz Kline, for instance, and think, “Give him some black fingerpaint and my two-year-old could do that.” And your two-year-old might, indeed, turn out something similar. But if that fingerpainted masterpiece has the grace of Japanese calligraphy, if it suggests the energy of the modern city, and if it delights in tonalities of black, white and grey, it’s probably by accident.

Abstract Art Strives for Purity of Expression

If often helps, when learning to appreciate abstract art, to go back to its sources, whether historically or in the work of an individual artist. Piet Mondrian, for instance, finished his career doing rectangles of primary colors in rigid grids. He started out doing more representational work, but was always striving to reduce the image to its essence. In a transitional work such as The Gray Tree, the form has been purified almost, but not quite, into abstraction. As the art commentator Sister Wendy has pointed out, without its title, it’s an abstract painting. With the title, it is quite recognizably a tree.

Not everyone has to like abstract art, any more than it would be a failing not to like anchovies. But it would be a failing not to look at it with an open mind. Meet it on its own terms, and you may discover that it resonates for you in ways that will delight you for years to come.

Thank you for reading this article! If you have any further questions about this topic please contact us.

Original Painting

original paintings

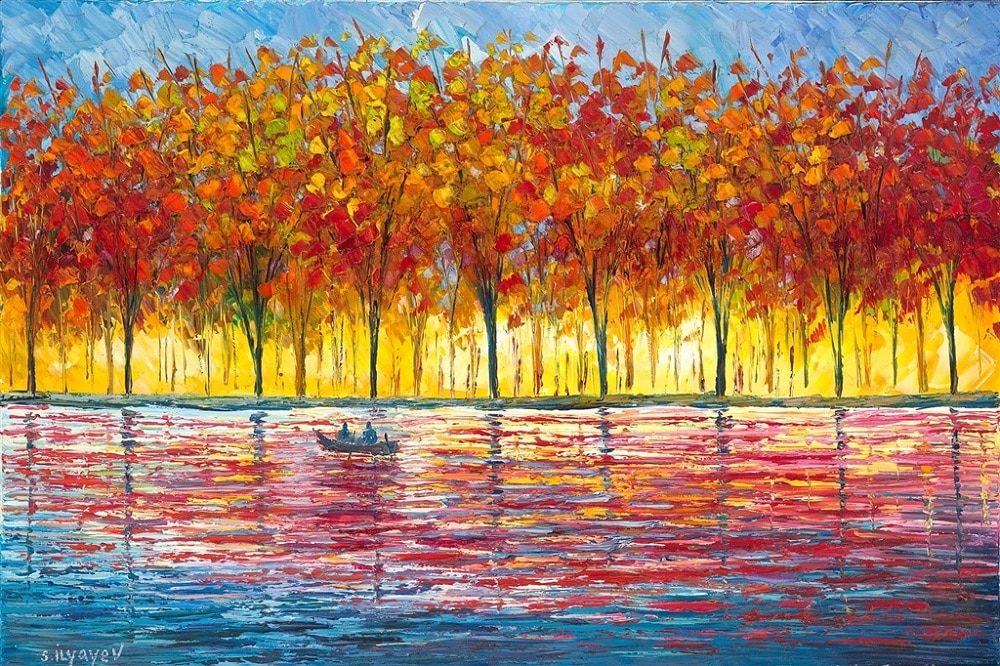
The search for an original painting that resonates with your taste and transforms the room it’s destined for can be a difficult and frustrating undertaking. How fortunate for us twenty-first century art lovers that we have the range and convenience of the Internet at our fingertips. You can visit more online galleries in a single Sunday afternoon than your grandparents could in a year.

Original Paintings for Sale on the Web

It’s fortunate, too, for the artists, whose work can reach an exponentially larger audience than ever before. Most of us, if we want to own an original painting, are not going to be able to buy a Mondrian or a Klee. We want to discover the artists who are not yet in the museums and textbooks. And the best place to find them is on the Web.

Of course, the quality of original paintings available from online galleries varies widely. Some are frankly tacky, designed to appeal to a low common denominator. And some, though individually hand-painted, still have an assembly-line feel. But imagine the excitement and satisfaction of discovering an artist you’ve never before heard of, and finding that his or her work speaks to your heart. While I may have the greatest admiration for a masterwork that is distinguished by technical brilliance or conceptual originality, when it comes to art I’m going to live with, I turn to my heart rather than my brain or even my eyes. Does it stop me when I’m scanning painting after painting? Do I want to return to it again, no matter how often I’ve seen it? Am I constantly discovering nuances of texture, subject and mood? Then this is a painting I want to own.

Thank you for reading this article! If you have any further questions about this topic please contact us.
Finger Painting – How to Create Finger Painting Paints

finger painting

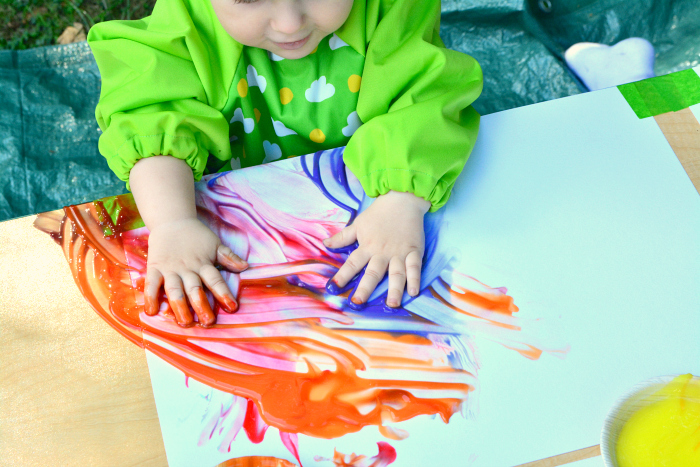
The joy of Finger Painting

Being artistic does not require you to be very talented. They say that it is a gift to become an artist; however there are trick and trades you can do to be artistic in your caliber. Like for instance, when we were kids, we love to do finger painting. The reason behind this is that kids love to be messy. They also want to create a lot of things from nothing and of course they love colors. You can create your own finger paint at home by following these easy steps that you can read in this article. It is easy to make and in no time you will be able to use them to do finger painting with kids and kids at heart. Here are the materials and steps you need to know to make your own finger paint:

1. You will need to have cornstarch, sugar, water, food coloring or tempera paints. If you want the paint to be easily removed, you can add soap onto your ingredients. The disadvantage of this though is that it is not advisable for kids to use since soap is non-edible and may be harmful to kid’s health.

2. Mix the ¼ cup of sugar with ½ cup cornstarch in a saucepan.

3. Add the water into the sugar and cornstarch mix. Do this process slowly to make sure that it blends well with the dry ingredients.

4. Cook the mixture until you come up with a gel like substance or consistency. Keep on stirring the mixture slowly and turn the heat up to medium. Do this for about 5 minutes and consistently stir while waiting for the ingredients to form into gel-like substance.

5. Once you have achieved the right consistency, set the finished product to cool then add the food coloring. You need to purchase a lot of different kinds of color for your food coloring so you will have a lot of options to choose from once you use this for finger painting.

6. After adding the food coloring, stir the mixture well to blend the colors properly.

7. Set everything to cool and they are now ready for use.

8. You can ask help from the children in your household to make the paints for you. Then afterwards, you use your imagination and create a lot of finger painting designs for you and your friends and families. Have fun and create a scenario so you can enjoy the finger painting jobs you have done to yourself and to others as well.

Thank you for reading this article! If you have any further questions about this topic please contact us.

How to Remove Paint From Wood

Paint Stripping

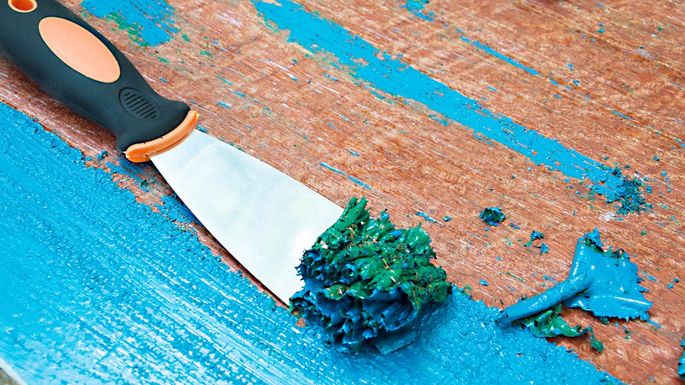
Removing paint from a wood surface, more commonly referred to as paint stripping, is the process of breaking the paint bond and exposing the wood underneath. Stripping paint is necessary when there are many layers of paint on the surface, dry paint has drip marks or simply to expose and refinish natural wood. Paint is stripped from wood moldings, furniture, floors or wood-based walls such as paneling. There are a few do-it-yourself methods to choose from, pick the easiest method based on your skill level and capabilities.

For Paint Stripping You Will Need

  • safety glasses
  • heat-resistant gloves
  • hot air gun
  • metal paint scraper
  • chemical paint stripper
  • tarp
  • paintbrush
  • mild detergent
  • belt sander
  • medium-grit sandpaper
  • fine-grit sandpaper
  • extra fine-grit sandpaper

Heat Stripping

  1. Wear safety glasses and heat-resistant gloves. Keep a fire extinguisher and phone nearby in case of accidental fire. Do not use heat guns near natural gas lines and electrical wires.
  2. Hold a hot air gun near the wood surface at a 45-degree angle. Do not touch the end of the heat gun to the wall because it is a fire hazard.
  3. Keep the heat gun in constant motion over a small, manageable area. Move the heat gun back and forth or up and down until the heat begins to bubble the existing paint.
  4. Use a metal paint scraper to scrape off bubbled paint.
  5. Move the heat gun to the next area and repeat until all paint has been removed from the wood surface.

Chemical Paint Strippers for Paint Stripping

Chemical paint strippers are messy, but very effective.

Wear chemical-resistant gloves, safety goggles and work in a well-ventilated area. If the area is not well ventilated, set up large fans or wear a chemical approved respirator.

  1. Lay down tarps or thick layers of newspaper to catch drips and accidental spills.
  2. Apply a thick layer of chemical stripper to the wood surface with a paintbrush.
  3. Allow the chemical paint stripper to sit on the surface for the length of time based on the manufacturer’s recommendations.
  4. Scrape off old paint with a metal paint scraper.
  5. Wash the surface with a mild detergent to remove chemical residue from the paint stripper.
  6. Allow the wood to dry thoroughly before refinishing.

Paste or Gel Paint Strippers

Paste and gel paint strippers depend on the same chemical reaction to break old paint bonds from surfaces. Paste strippers work slower than chemical paint strippers, but are more appropriate for areas that are difficult to reach such as carvings or corners.

  1. Apply a thick layer of paste or gel stripper with a putty, pressing it into carved areas.
  2. Allow the paste to react, which can take up to 24 hours depending on the brand.
  3. Scrape off old paint with a metal paint scraper.
  4. Wash the surface to remove excess chemicals.

Sanding Off Old Paint

Sanding paint works best for small or large flat areas without details, carvings or depressions.

  1. Load a belt sander with medium-grit sandpaper and sand the surface removing top layers of paint. This is also done by hand sanding.
  2. Change to fine-grit sandpaper and sand the surface again.
  3. Finally sand a third time with extra fine-grit sandpaper.

You can find success with any of these methods. Chemical stripping is the easiest, but also the messiest. Sanding will also remove a layer of the wood surface itself. If you are not experienced with sanding, you can cause surface depressions and indentations.

Thank you for reading this article! If you have any further questions about this topic please contact us.
Magical Paint

magical paint

Paint is fun and wonderful for children. Make paint even more fantasticwith some magically fun paint ideas!

Supplies For Magical Paint:

Washable paint available from craft stores in red, yellow, blue, white and gold glitter.

Magical Paint Mixing
Buy primary colors of paint in red, yellow and blue. Also buy white paint. Allow children to mix colors to create new colors. To an adult, this doesn’t seem like magic, yet to a young child, it is very magical! Teach children what colors to mix to create new colors.

Mix:
Red and yellow to create orange.
Blue and red to create purple.
Yellow and blue to create green.
Red and white to create pink.

Create Special Scented Paint
Help children create scented magical paint. Purchase hair gel in several different scents. Add a small amount of hair gel to each color to create a unique and magical scent to each color of paint. Allow children to use their imagination by naming each scented color of paint.

Make Glowing & Shimmering Paint
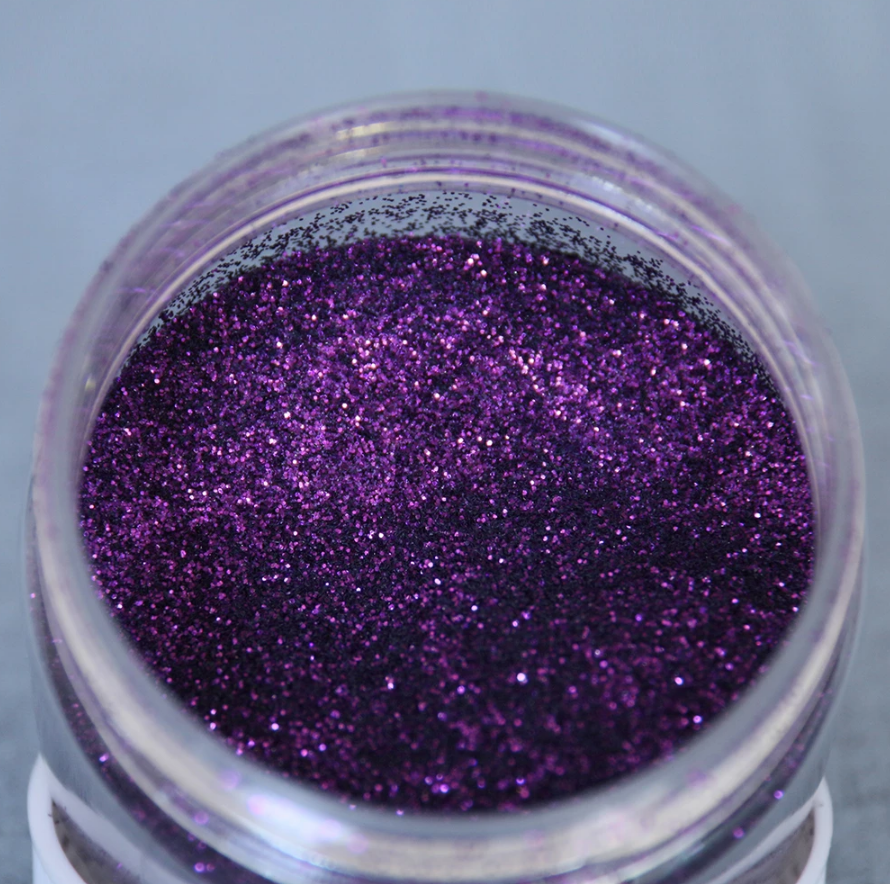
Mix the gold glitter paint with the other colors to make every color sparkle just like magic! Another option is to add regular glitter or micro-fine glitter.

Make Magical Blown Art
Place paint on paper and use a straw to blow the paint in different directions creating magical paint designs.

Mess Free Glitter Finger Paint
Put gold glitter paint in clear Ziploc bags. Children will have fun feeling the gel and using their fingers to make designs with the paint. For extra magic, add a small amount of confetti to the mix. Leave room in the bag for children to play with the magical paint by not overfilling the bags. Another option is to put hair gel in a Ziploc bag with glitter. In the picture I have used light blue hair gel and micro-fine glitter. I used my finger to draw a line in the shimmering finger paint.

Enjoy and have a magical time!

Thank you for reading this article! If you have any further questions about this topic please contact us.

Pros & Cons of Painting Over Wallpaper

painting over wallpaper

This article will discuss some of the pros and cons of painting over wallpaper when it comes to decorating your home. There it is, the house of your dreams! As you roll into the driveway you couldn’t imagine a greater place to live. Serene woods, a lovely home with incredible curb appeal, and best of all it is just the right price. As you walk into the home you are very satisfied with the layout of the rooms, etc. But you hesitate for a moment and notice the ugly country bumpkin wallpaper. The walls are plastered with country hearts and apples in baskets accompanied by a border with a farmer pushing a cart of fruit. Each and every room in the house has some type of wallpaper with a country motif. At this point you become very dissatisfied and the home does not appeal to you in the same sense as it had from the outside. The good news is, there are alternatives to removing the unwanted wallpaper and can be much less time consuming.

Wallpaper can be painted over it treated properly and you follow the correct procedure. Because wallpaper is water permeable it is very important that the walls are prepared prior to painting. Follow these procedures prior to painting:

1. Carefully observe the every inch of the paper for peeling seams, rips or tears.
2. Repair any seam that may be peeling by gluing the edges back into place with wallpaper glue.
3. Use spackle or drywall mud to fill in any areas that may be unlevel due to rips or tears.
4. Ensure that the wall is clean and free of any foreign substance.

Once the above procedure are completed you are ready to prime the wall. It is very important that the wall is primed with an oil based primer. Oil based primers will not soak through the paper causing it to peel. If a water based paint is used the wallpaper will begin to bubble and peel. After the entire wall has been primed with an oil based coating, you should observe the wall again for any unwanted texture, seams, or unlevel surfaces. These should be repaired before proceeding to paint. Texture and unlevel surfaces need to be filled in again with spackle or drywall mud and unwanted seams again should be glued down.

Get ready to paint. Choose the color you wish for your wall to be. Again, an oil based paint is suggested as an extra barrier. If you choose you can also use a water based paint, but if you have any exposed areas that have not been covered with oil based primer or an open seam, then you will experience bubbling and the wallpaper will peel.

After you are finished painting you can stand back and look at the beautiful room that once was plastered with undesirable wallpaper.

Pros to painting over wallpaper versus removing wallpaper include:

1. Less time consuming. Removing wallpaper can be very difficult. It is suggested that in order to remove wallpaper one should steam the area, perforate the area, steam the area again, perforate the paper for a second time, spray the entire wall with fabric softener, perforate the wall for a third time and then begin peeling the paper. This is a very time consuming process and still does not ensure that you will not run into issues such as the paper sticking to the drywall and pulling the drywall paper off leaving the surface uneven.
2. Trim does not have to be removed if it covers over wallpaper. Just ensure that you have a good tool to paint close to all trim.

Cons to painting versus removing wallpaper include:

1. More expensive process. The cost of oil based paints are much higher than water based paints.
2. Hazardous fumes. You will need to open a window and make sure you have proper ventilation if you are using oil based primers and paints. The fumes created can be hazardous.
3. Cleanup difficult. Oil based paints and primers are much more difficult to clean up. Water based paints are very soluble in water and clean much more easily.

Regardless if you choose to paint over wallpaper or remove the wallpaper all together, you have a task ahead of you. Be prepared to spend time with either process. Good luck and happy painting.

Thank you for reading this article! If you have any further questions about this topic please contact us.