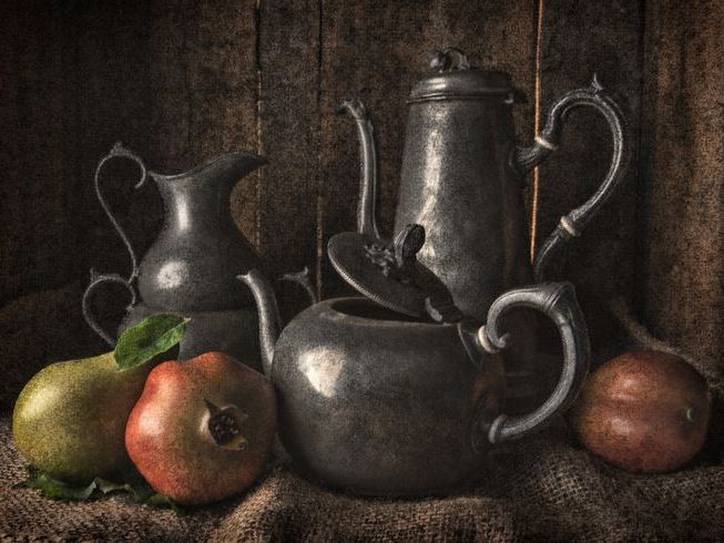
Drawing is an artistic skill that can be improved by combining natural talent with diligent practice. A simple still life is a good place to start in learning to create attractive pencil drawings. Beginner artists may consider these tips for drawing a still life.
Still Life Drawing Supplies
Begin with the necessities for drawing. You will need a sketching paper or a sketchpad, pencils, an eraser, a pencil sharpener and perhaps a blending tool. A blending tool is a pencil-shaped device made of paper, either end of which can be used to blend pencil or pencil crayons. Once used, the ends can be sanded to remove excess pencil lead. You may appreciate the look of charcoal or conté, but it is often easier to learn with a pencil.
Consider sketching pencils. An “HB” pencil is a regular pencil – students will use in it school for math class. A number alongside “H” on a pencil indicates the hardness of the lead. The higher the number, the lighter the pencil marks will be. A number alongside “B” on a pencil indicates the softness of the lead, and how dark the pencil marks would be. The higher the number, the darker the pencil marks. Therefore “HB” is in the middle of the spectrum. These different pencils help with shading in sophisticated pencil drawings.
A beginner artist can learn well with a simple HB pencil. However, while practising, you may wish to experiment with different sketching pencils as well.
Drawings Shapes and Shading in Pencil Sketches
Drawing is a skill that takes some practice to do well. For learning, begin with something simple, like an apple. Look at the apple before you; noticed its curves. Apples are not perfectly round, as much as some look like they are. The apple may have a round middle, but inevitably dips in on the top, where the stem is. Taking note of this shape, begin drawing with the outline. Drawing a still life is translating to the page what you see. To best form the outline, be sure to observe the apple often, comparing it to the drawing. Draw the outline with a light hand, as it will be easier to erase mistakes.
Pencil sketching looks at shapes, shadows and colour contrasts rather than colours and shades. Consider the shadows as well as differences in shades of colour on the apple. For example, a mostly red apple may have a spot of yellow on it as well. As a lighter colour, it requires lighter shading.
When shading, start with the outline and work your way inward. When using a simple HB pencil, shade lightly and go over the same area until the shadows are as dark as desired. This keeps mistakes easy to erase if need be. If you do not have a blending tool, shading can be smoothed lightly with a fingertip. As with the outline, compare the drawing to the apple. Does the shading gradually become lighter or darker, as it does on the apple? Have you left a spot of white where a light may be reflecting off the apple?
A good trick for creating such a spot of light is to shade the area lightly and erase it in whatever shape the light is in. In the case of the apple, it would likely be an upside-down tear drop shape that curves slightly. Moreover, rubbing the shading lightly with a blending tool helps to better even out the pencil lines and keeps fingers clean.
Beginner artists may try these tips for pencil sketching a still life. Remember that drawing is a skill that can be learned with an artistic eye and plenty of practice. If the first still life drawing is unsatisfactory, simply try again.
Thank you for reading this article! If you have any further questions aout this topic please contact us.
